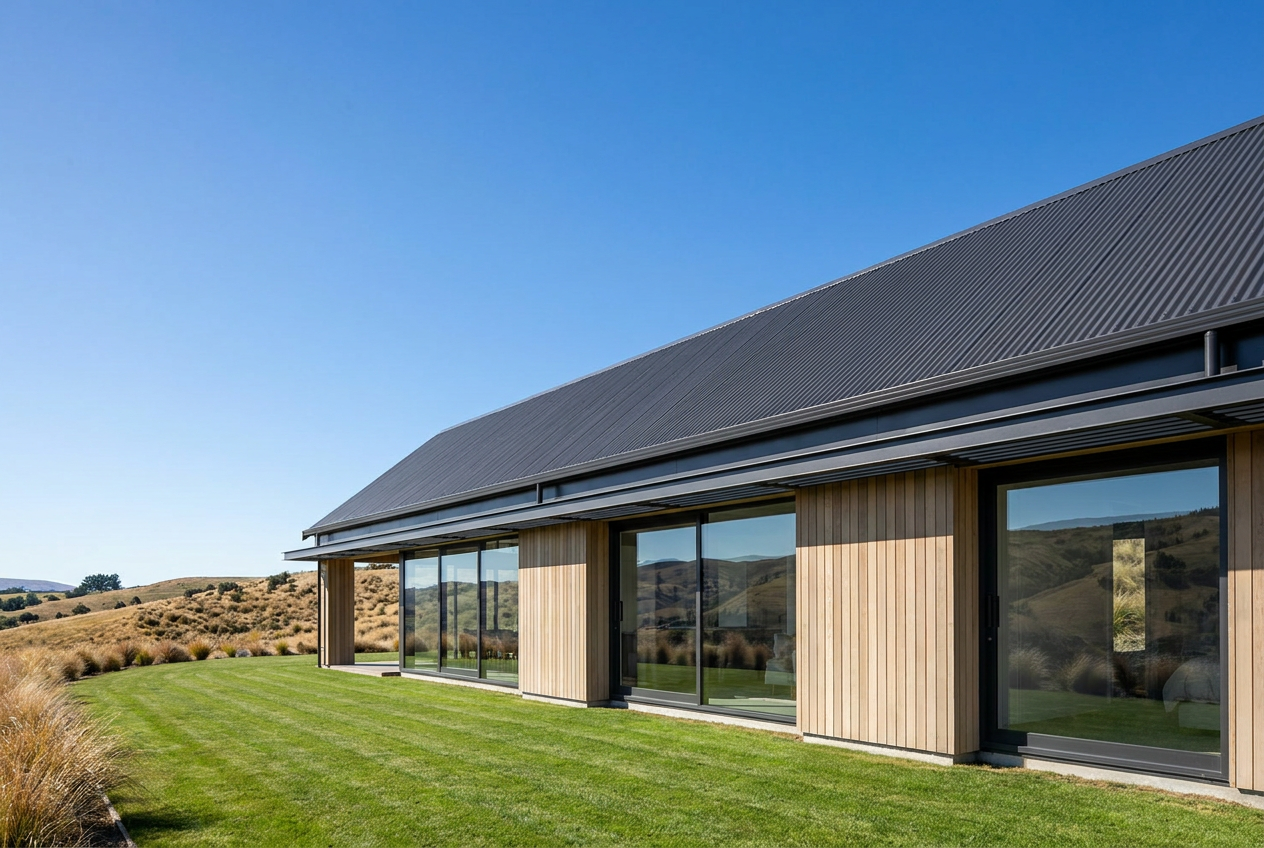
Painting a concrete tile roof is a popular way to refresh your home's appearance, protect tiles from weathering, and add years of life to an ageing roof. In New Zealand's variable climate — from Auckland's humidity to Canterbury's UV-intense summers — the right approach makes all the difference between a finish that lasts a decade and one that peels within a couple of years.
Is It Actually Worth Painting Your Concrete Tiles?
Concrete tiles are porous and gradually lose their colour and surface coating over time. A quality repaint can:
- Restore colour and kerb appeal without the cost of a full re-roof
- Seal the surface against moisture ingress and moss/lichen regrowth
- Extend tile life by protecting against UV degradation and freeze-thaw cycles (important in colder South Island regions)
- Potentially improve insulation slightly by choosing lighter, heat-reflective colours
However, if tiles are cracked, broken, or the roof structure has issues, painting is not a substitute for repairs. Always fix damaged tiles first.
Assessing Your Roof Before You Start
Before buying a drop of paint, get up and inspect the roof (safely — more on that below) or hire a professional to assess it. Check for:
- Cracked or broken tiles — replace these before painting
- Heavy moss, lichen, or algae growth — must be fully treated and removed
- Loose or missing mortar at ridges and hips — re-point before painting
- Previous paint — if old paint is flaking, it must be removed or the new coat won't bond
BRANZ research shows that surface preparation is the single biggest factor in how long a roof paint job lasts.
Step-by-Step: How to Paint a Concrete Tile Roof
1. Clean the Roof Thoroughly
This is the most critical step. Use a moss and mould treatment (applied and left to dwell), followed by a water blaster (typically 1500–3000 PSI) to remove all biological growth, dirt, and loose material. Allow the roof to dry completely — this can take several days in cooler or humid weather.
2. Treat Remaining Moss and Lichen
After washing, apply a biocide or fungicidal wash to kill any remaining spores. Products from Resene (such as their Roof Wash range) or similar specialist roof treatment products are well suited to NZ conditions. Follow the manufacturer's dwell time before proceeding.
3. Repair and Re-point
Replace broken tiles and re-point ridge and hip mortar using a flexible, weather-resistant mortar or pointing compound. Allow repairs to cure fully.
4. Apply a Primer/Sealer
Concrete tiles are highly porous and will absorb paint unevenly without a primer. Use a penetrating sealer or roof primer compatible with your chosen topcoat. This step is non-negotiable for a long-lasting result.
5. Apply the Topcoat
Use a roof-specific masonry or concrete tile paint — not exterior wall paint. Look for products formulated for NZ conditions with UV resistance, flexibility, and waterproofing properties. Dulux and Wattyl both offer roof paint systems designed for concrete tiles. Apply two coats, allowing full drying time between coats as specified on the tin.
Application methods:
- Airless sprayer — fastest and most even, but requires skill and careful masking
- Roller with extension pole — good for DIY, though slower
- Brush — useful for cutting in around edges and ridges
Choosing the Right Paint
| Feature | What to Look For |
|---|---|
| Product type | Roof-specific concrete tile paint |
| Finish | Low-sheen or satin (flat can trap dirt) |
| Flexibility | Important for thermal expansion/contraction |
| UV resistance | Essential in NZ's high UV environment |
| Mould resistance | Helps in humid regions like Northland, Waikato |
| Colour | Lighter colours reflect heat; check with your council if in a heritage zone |
Safety on the Roof — This Is Critical
Roof work is one of the leading causes of serious injury and death in NZ. WorkSafe NZ has strict guidelines around working at height. Before going up:
- Never work on a wet or damp roof — concrete tiles become extremely slippery
- Use a roof ladder or chicken ladder hooked over the ridge
- Have a spotter on the ground at all times
- Consider edge protection or scaffolding for anything above single-storey
- Wear non-slip footwear and avoid working alone
If your roof is steep (over about 25 degrees), multi-storey, or you're not confident working at height, this is a job best left to a professional.
DIY vs Hiring a Roof Painter
Painting a concrete tile roof yourself can save money on labour, but consider the full picture:
- Equipment hire (water blaster, sprayer, scaffolding) adds up quickly
- Paint and materials for an average NZ home can run into several hundred dollars as a guide — quality products are worth the investment
- A professional roof painter will have the right equipment, insurance, and experience to work safely and efficiently
- A poor DIY job that peels early will cost more to fix than doing it right the first time
When to Call a Professional
Hire a qualified roof painter if:
- Your roof is steep, high, or complex in shape
- There is significant moss, lichen, or damage requiring specialist treatment
- You don't have access to the right equipment
- You want a guarantee on the workmanship
- You're unsure about the condition of the roof structure
A professional roof painter will also be able to spot issues like cracked tiles, failing flashings, or ridge mortar problems that an untrained eye might miss. You can find qualified local roof painters on tradedirectory.co.nz.