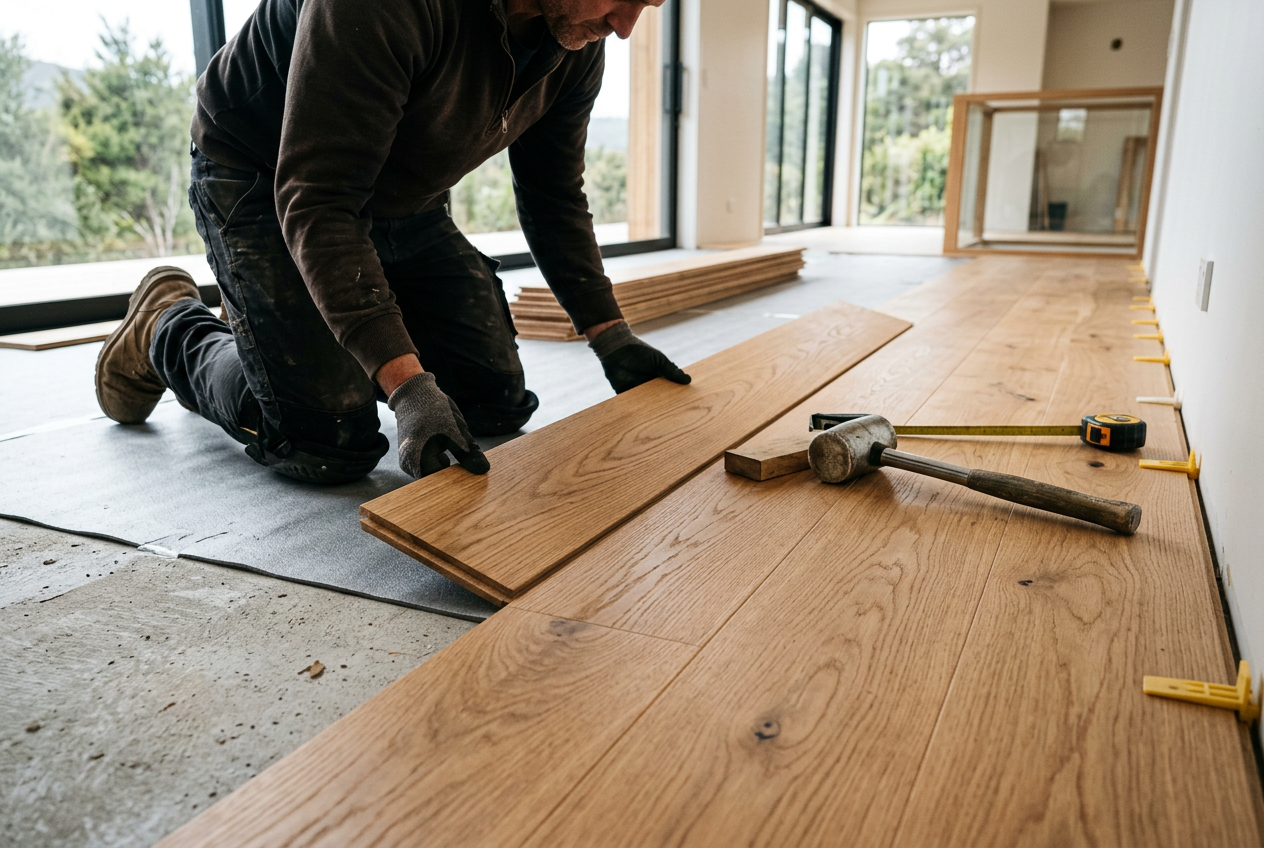
Laying luxury vinyl plank (LVP) flooring over existing tiles is one of the most popular DIY flooring upgrades in New Zealand homes — and for good reason. It can save you the cost and mess of tile removal, and modern vinyl planks are tough enough to handle the job. That said, success depends almost entirely on the condition of your existing tiles and how well you prepare the surface.
Is It Actually Possible?
The short answer is yes — provided a few key conditions are met. Vinyl planks need a surface that is:
- Flat and level (within about 3 mm over a 1.8 m span, though always check your specific product's tolerance)
- Firmly bonded — no loose, cracked, or hollow tiles
- Clean and dry — free of grease, wax, adhesive residue, and moisture
- Low enough in height — adding a floating floor layer will raise your finished floor level, which can affect door clearances and transitions to adjoining rooms
If your tiles tick all those boxes, you're in good shape to proceed.
Checking Your Tiles First
Before you buy a single plank, get down on your hands and knees and inspect the existing tiles carefully.
Look for hollow or loose tiles
Tap each tile with a coin or the handle of a screwdriver. A dull, hollow sound means the tile has debonded from the substrate beneath. Loose tiles must be re-adhered or removed before you lay anything over them — a vinyl plank floor will flex and eventually fail if the base moves underneath it.
Check for cracked or chipped tiles
Minor chips can be filled with a suitable floor-levelling compound (products from Ardex or Mapei are widely used in NZ). Cracked tiles that span the full depth are a bigger concern — they suggest movement in the substrate and should be investigated.
Assess the grout lines
Deep or wide grout lines (typically more than about 4 mm wide or 2 mm deep) can telegraph through thinner vinyl planks over time, creating visible ridges. You'll need to skim-coat the entire floor with a self-levelling compound to fill the grout lines and create a smooth, flat surface.
Check for moisture
This is critical in NZ's varied climate, particularly in bathrooms, laundries, and slab-on-ground homes in wetter regions. Tape a piece of plastic sheeting to the tile surface and leave it for 24–48 hours. If moisture collects underneath, you have a dampness issue that needs to be resolved before any flooring goes down. BRANZ has useful guidance on moisture management in NZ homes.
Preparing the Surface
Good prep is what separates a floor that lasts a decade from one that fails in a year.
- Clean thoroughly — sweep, vacuum, and mop the tiles. Remove any wax, grease, or old adhesive.
- Re-adhere or remove loose tiles — use a suitable tile adhesive and allow full cure time.
- Fill grout lines and chips — apply a floor-levelling or patching compound and feather it flat. Allow to cure fully.
- Sand down any high spots — a belt sander or angle grinder with a diamond cup wheel can knock back lippage (uneven tile edges).
- Final check — use a long straightedge or spirit level to confirm the floor is within your vinyl plank manufacturer's flatness tolerance.
Choosing the Right Vinyl Planks
Not all vinyl planks are equal. For laying over tiles, look for:
- Thicker wear layers — a thicker core (5 mm or more is common for quality LVP) will better bridge minor imperfections
- A built-in underlay — many planks come with an attached foam or cork underlay, which helps with minor surface variation and sound absorption
- Click-lock systems — these floating floors don't need to be glued to the substrate, making installation straightforward for a competent DIYer
You'll find a good range of options at Bunnings and Mitre 10, and specialist flooring suppliers will have even broader selections.
Installation Tips
| Step | Key Point |
|---|---|
| Acclimatise the planks | Leave them in the room for 24–48 hours before laying |
| Plan your layout | Avoid very narrow cuts at walls; offset end joints by at least 300 mm |
| Leave expansion gaps | Typically 8–10 mm around all fixed edges — check manufacturer specs |
| Stagger rows | Random-length staggering looks better and adds structural integrity |
| Use the right tapping block | Protect the click-lock edges; never hit planks directly |
Always follow the specific installation instructions from your plank manufacturer — these will take precedence over general advice.
Height and Transition Considerations
Adding vinyl planks over tiles will raise your floor level — often by 6–12 mm depending on the product. Check that:
- Doors still clear the new floor — you may need to trim the bottom of door frames
- Transitions to other rooms are handled with appropriate threshold or reducer strips
- Wet area compliance is maintained — in bathrooms and laundries, the NZ Building Code (clause E3) sets requirements for wet area waterproofing and floor levels. Raising a bathroom floor can affect drainage falls, so take care.
When to Call a Professional
While laying vinyl planks is within reach of a capable DIYer, there are situations where you should bring in a qualified flooring installer:
- Large areas with significant lippage or unevenness — professional grinding and levelling equipment makes a big difference
- Suspected moisture or subfloor movement issues — these need expert diagnosis
- Bathrooms and wet areas — if any waterproofing membrane work is required, this must comply with NZ Building Code E3 and may need a Licensed Building Practitioner (LBP)
- You're unsure about the tile substrate — a professional can assess whether the existing tiles are a suitable base
A qualified flooring installer will also be able to advise on the best product for your specific situation. You can find experienced local flooring tradespeople on tradedirectory.co.nz.