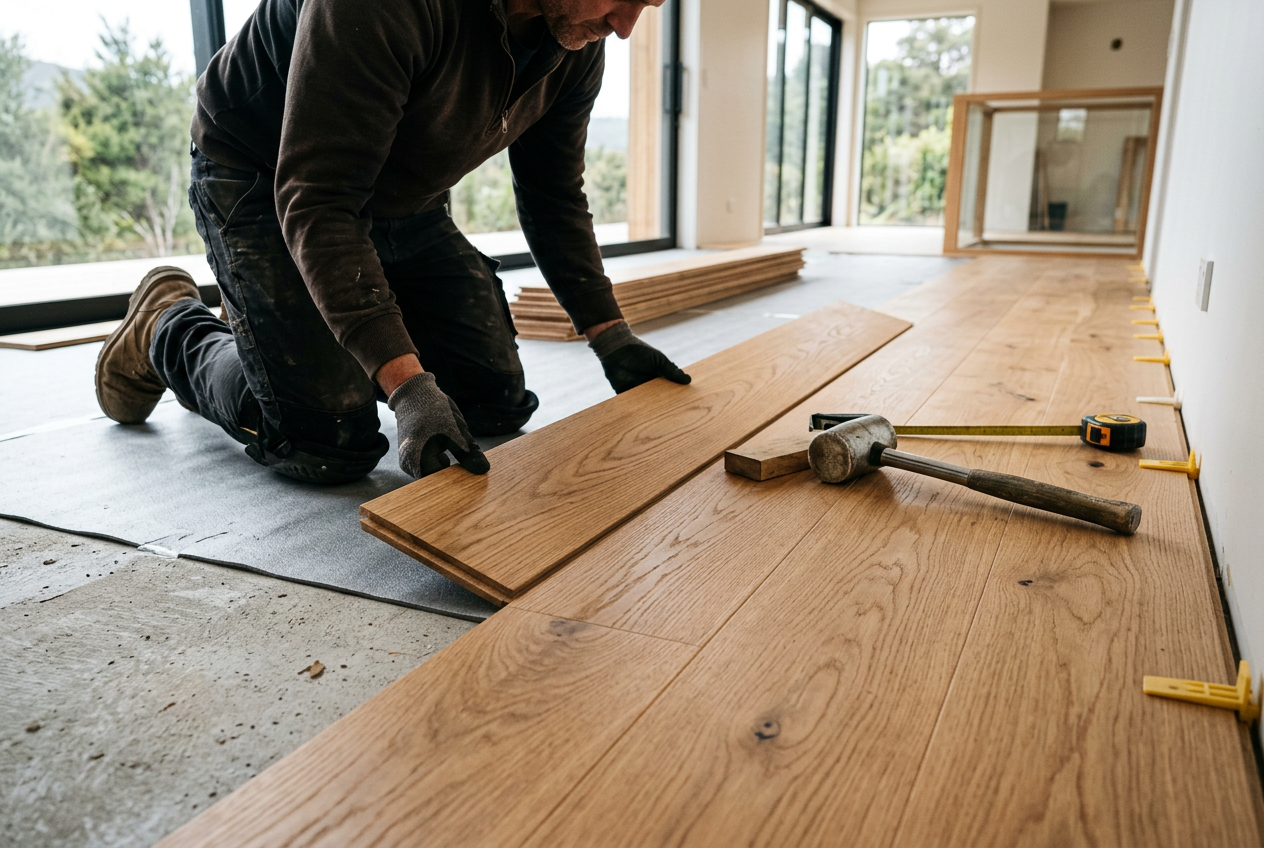
Laying new flooring over existing floorboards is a popular renovation choice for NZ homeowners — it saves time, reduces waste, and can cut costs significantly. But whether it's a good idea depends on the condition of your existing floor, the type of new flooring you're installing, and how well you prepare the surface. Get it right and you'll have a beautiful, long-lasting result; rush it and you'll be pulling everything up again within a few years.
First: Assess the Condition of Your Existing Floorboards
Before you buy a single plank, get down on your hands and knees and inspect what you're working with. Look for:
- Squeaky or bouncy boards — these indicate loose fixings or a weak subfloor structure
- Rot, mould, or moisture damage — especially common in older NZ homes with poor underfloor ventilation
- Cupping or warping — boards that have swollen or twisted unevenly
- Large gaps between boards — these can telegraph through thinner new flooring
- Protruding nails or staples — these must be punched down or removed
If you find rot or significant moisture damage, stop and investigate the cause before proceeding. BRANZ has excellent guidance on diagnosing subfloor moisture issues, which are particularly common in older New Zealand homes with suspended timber floors.
How Much Height Will You Add?
This is a practical issue many homeowners overlook. Every new layer adds height, which affects:
- Door clearances (you may need to trim the bottoms of doors)
- Transitions to adjoining rooms or hallways
- Kitchen kickboards and appliance gaps
- Skirting board reveals
As a rough guide, engineered timber or laminate typically adds around 10–15 mm, while vinyl plank (LVP) adds as little as 4–8 mm. Factor this in before you commit.
Which Flooring Types Work Best Over Old Boards?
Not all flooring products are suitable for direct installation over floorboards. Here's a quick comparison:
| Flooring Type | Can Go Over Boards? | Key Requirements |
|---|---|---|
| Luxury Vinyl Plank (LVP) | Yes, usually | Flat, firm, clean surface; gaps filled |
| Engineered Timber (floating) | Yes | Level surface, moisture check |
| Laminate (floating) | Yes | Level surface, underlay required |
| Solid Timber (nail-down) | Sometimes | Boards must be structurally sound |
| Ceramic/Porcelain Tile | Not recommended | Too much flex; risk of cracking grout |
| Sheet Vinyl | Yes, with prep | Gaps and bumps must be fully filled |
Floating floors (click-lock LVP, laminate, and engineered timber) are generally the most forgiving option over existing boards, provided the surface is reasonably flat — typically within about 3 mm over a 1.8 m span, though always check the manufacturer's specification for your chosen product.
Preparing the Surface Properly
Good prep is the difference between a floor that lasts decades and one that fails in a few years. Here's what's typically involved:
Fix Structural Issues First
- Screw down any loose or squeaky boards using appropriate timber screws
- Punch all nail heads at least 2–3 mm below the surface
- Replace any badly damaged or rotten boards
Level and Fill
- Fill gaps between boards and any low spots with a suitable floor-levelling compound. Products from Ardex or Mapei are widely used by NZ flooring professionals and are available through trade suppliers
- Sand down any high spots or ridges
- For sheet vinyl or tiles, consider laying a sheet of 6 mm or 9 mm flooring-grade plywood over the boards first — this creates a much smoother, more stable substrate
Check for Moisture
Use a moisture meter to check the boards before installing. In New Zealand, underfloor moisture is a genuine concern, particularly in homes without adequate subfloor ventilation. The MBIE Building Performance website outlines requirements under the NZ Building Code for managing moisture in floors.
Underlay
Most floating floors require an underlay for cushioning, sound reduction, and minor moisture protection. Follow the flooring manufacturer's recommendations — using the wrong underlay can void your warranty.
Moisture and Wet Areas
If you're laying flooring in a bathroom, laundry, or kitchen, be aware that the NZ Building Code clause E3 (Internal Moisture) sets requirements for wet area floors. Tiling directly over flexible timber floorboards is generally not compliant without a rigid, decoupled substrate. In wet areas, it's strongly advisable to consult a professional flooring installer or tiler.
DIY vs. Professional Installation
Many homeowners successfully install floating LVP or laminate themselves — the click-lock systems are designed for DIY. However, consider calling in a professional if:
- Your existing floor has significant structural issues
- You're working in a wet area
- You're installing nail-down solid timber or glue-down products
- The floor area is large or has complex layouts (stairs, multiple rooms)
- You're unsure about moisture levels or subfloor condition
A qualified flooring installer will also be able to advise on the best product for your specific situation and ensure the result meets manufacturer warranty requirements. You can find experienced local flooring installers on tradedirectory.co.nz.
When to Call a Professional
Always engage a licensed professional if your flooring project involves:
- Electrical work — moving or installing underfloor heating elements is restricted electrical work under the Electricity Act and must be carried out by a registered electrician. Check the Electrical Workers Registration Board (EWRB) to verify credentials.
- Plumbing — any alterations to pipes beneath the floor are restricted work under the Plumbers, Gasfitters and Drainlayers Act. Use a licensed tradesperson registered with the PGDB.
- Structural subfloor repairs — if joists or bearers are damaged, this may require a Licensed Building Practitioner (LBP) depending on the scope of work.
Safety note: When sanding or cutting older floorboards in homes built before the 1990s, be aware of the potential for lead paint or asbestos-containing materials in the floor structure. If in doubt, have materials tested before disturbing them. WorkSafe NZ has guidance on working safely with hazardous materials.