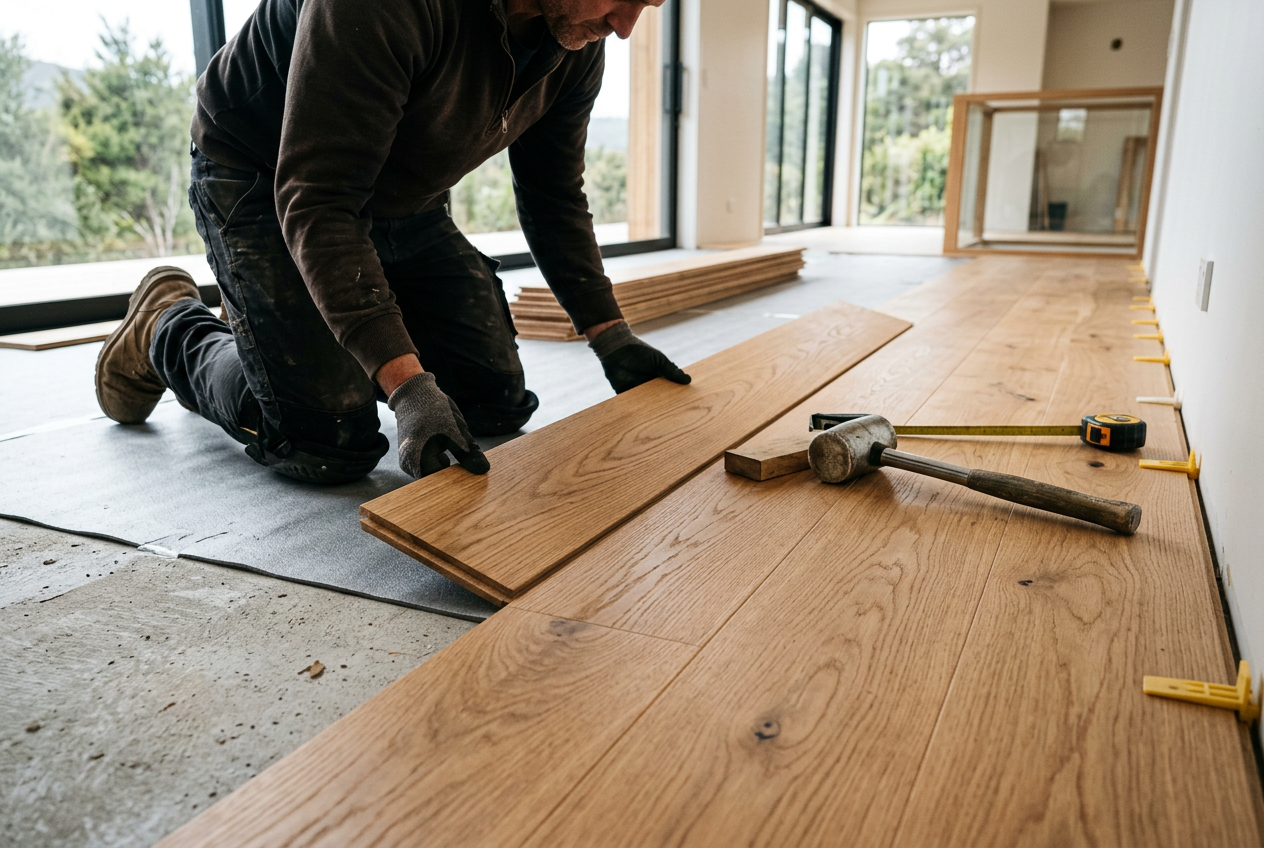
Laminate flooring is one of the most popular DIY flooring projects for NZ homeowners — and for good reason. Modern click-lock systems are designed to be installed without specialist tools, and the results can look fantastic. That said, getting it right takes careful preparation, the right materials for our climate, and an honest assessment of your subfloor.
Is Laminate Flooring a Realistic DIY Project?
For most homeowners with basic DIY skills, yes — laminate flooring is achievable. The floating floor method (where planks click together and are not fixed to the subfloor) is the most common approach and doesn't require adhesive or nailing. However, success depends heavily on subfloor preparation and moisture management, both of which are easy to underestimate.
Understanding NZ Climate and Moisture Risks
New Zealand's humidity — especially in regions like Northland, the West Coast, and Wellington — means moisture is your biggest enemy. Laminate is made from a high-density fibreboard (HDF) core that can swell and buckle if moisture gets underneath it. Before you buy a single plank, you need to:
- Test subfloor moisture levels using a moisture meter. Concrete subfloors should generally read below the laminate manufacturer's specified limit (check the product datasheet).
- Install a quality underlay with a built-in vapour barrier, especially over concrete slabs.
- Acclimatise your flooring — leave the unopened boxes flat in the room for at least 48 hours (some manufacturers recommend longer) so the planks adjust to the room's temperature and humidity.
BRANZ provides excellent guidance on moisture management in NZ homes, which is worth reading before you start.
What You'll Need: Tools and Materials
Tools
- Tape measure and pencil
- Pull bar and tapping block (usually sold as a laminate installation kit)
- Rubber mallet
- Jigsaw or mitre saw
- Spacers (for expansion gaps)
- Utility knife
- Moisture meter (hire or buy)
Materials
- Laminate flooring planks (add around 10% extra for waste and cuts)
- Underlay with vapour barrier
- Transition strips and scotia/beading for edges
- Silicone or appropriate sealant for wet-area thresholds
You'll find a good range of tools and accessories at Bunnings or Mitre 10.
Step-by-Step: How to Install Laminate Flooring
1. Prepare the Subfloor
The subfloor must be clean, dry, and flat. Most manufacturers specify the subfloor should not vary by more than 3 mm over a set span (check your product's instructions). Use a self-levelling compound to fix dips or high spots. Sand down any ridges.
2. Lay the Underlay
Roll out the underlay with the vapour barrier facing down (towards the subfloor). Butt edges together — don't overlap — and tape joins with the manufacturer's recommended tape.
3. Plan Your Layout
Work out your starting row so you don't end up with a very thin strip at the far wall. Aim for balanced cuts on both sides of the room where possible. Snap a chalk line as a guide.
4. Install the First Row
Place spacers (typically 8–10 mm) against the wall to maintain the expansion gap — this is critical. Laminate expands and contracts with temperature changes, and without this gap it will buckle. Click the short ends of planks together along the first row.
5. Continue Laying
Stagger the end joints by at least 300 mm between rows for structural integrity and a natural look. Use the off-cut from the end of one row to start the next. Click each plank in at an angle, then press down to lock.
6. Fit the Final Row
Measure and rip-cut the last row to width, remembering to maintain the expansion gap at the far wall.
7. Install Finishing Trims
Fit scotia beading or skirting to cover the expansion gap around the perimeter. Use transition strips in doorways. Do not nail or glue the flooring itself to the subfloor — it must float freely.
Laminate vs. Other DIY Flooring Options
| Flooring Type | DIY Difficulty | Moisture Resistance | Relative Cost |
|---|---|---|---|
| Laminate (click-lock) | Easy–Medium | Low–Medium | Low–Medium |
| Luxury Vinyl Plank (LVP) | Easy | High | Medium |
| Engineered Timber | Medium | Medium | Medium–High |
| Solid Timber | Hard | Low | High |
| Ceramic Tile | Hard | Very High | Medium–High |
If your area is prone to moisture (bathrooms, laundries, below ground level), consider luxury vinyl plank (LVP) instead — it's fully waterproof and just as DIY-friendly.
Areas Where Laminate Is Not Recommended
Avoid laminate in bathrooms, laundries, and other wet areas covered by the NZ Building Code's Clause E3 (Internal Moisture). These spaces need waterproof flooring solutions. Laminate is also not ideal for below-grade (basement) installations in NZ homes without very robust moisture control.
When to Call a Professional
While laminate is DIY-friendly, there are situations where it's worth calling a qualified flooring installer:
- Your subfloor has significant damage, rot, or unevenness that needs structural attention
- You're working in a large open-plan area where layout errors are costly
- You want a warranty-backed installation (many manufacturers require professional installation for warranty claims)
- You're unsure about moisture readings or subfloor compatibility
A professional flooring installer will also have access to commercial-grade tools that produce cleaner results. You can find qualified local flooring installers on tradedirectory.co.nz.