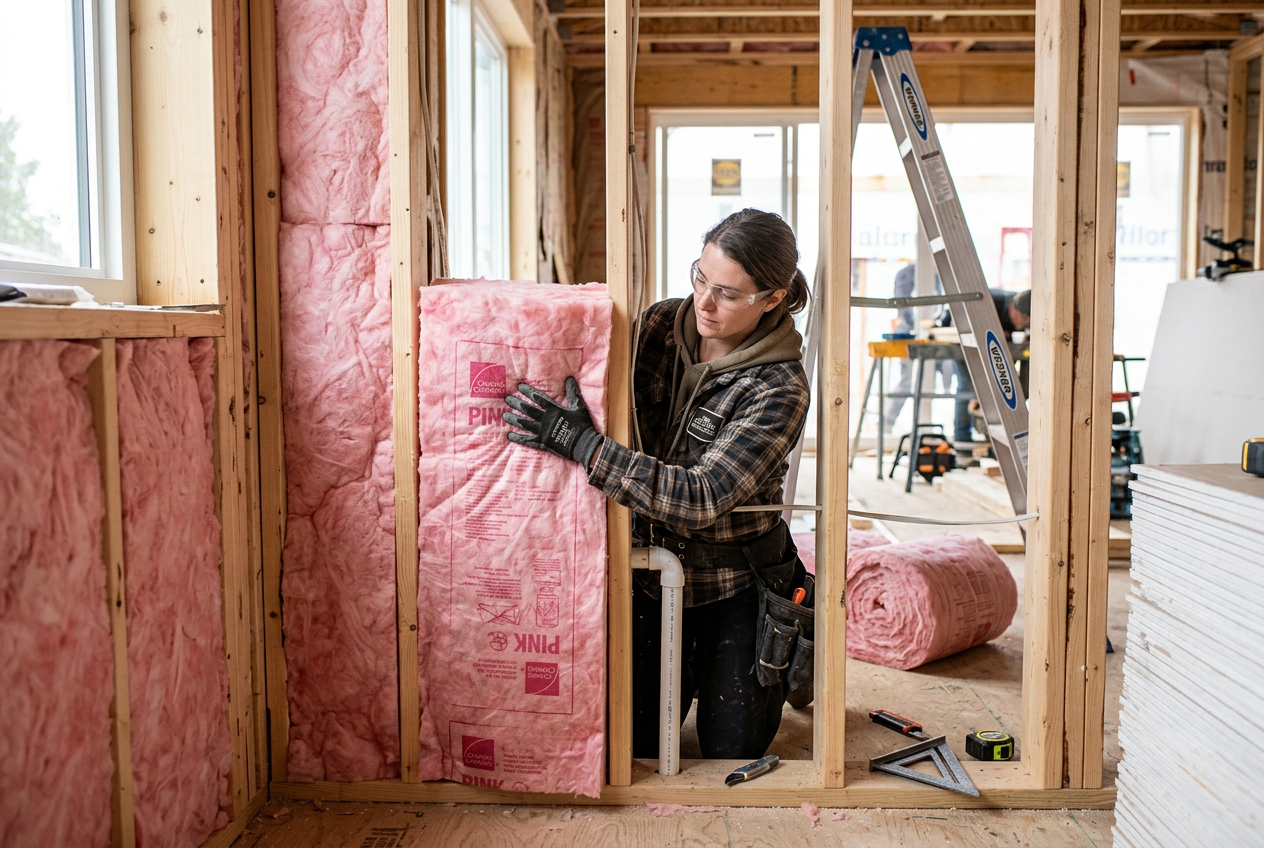
Installing ceiling insulation is one of the most cost-effective home improvements you can make in New Zealand, cutting heat loss and reducing energy bills year-round. The good news is that, in most situations, it's a job a capable homeowner can tackle themselves — no licence required. That said, there are important safety considerations, Building Code requirements, and a few situations where you'll want to call in a qualified insulation installer.
Is It Legal for Homeowners to Install Their Own Ceiling Insulation?
Yes — installing bulk insulation in a ceiling space is not restricted building work under the NZ Building Code, so you don't need to be a Licensed Building Practitioner to do it yourself. However, the installation must still meet the requirements of the Building Code, particularly Clause H1 (Energy Efficiency), which sets minimum R-values for ceilings depending on your climate zone.
If your home is a rental property, you also need to comply with the Healthy Homes Standards, which require ceiling insulation to meet specific R-value thresholds. Non-compliance can result in fines for landlords.
Understanding R-Values and NZ Climate Zones
The R-value measures thermal resistance — the higher the number, the better the insulation. New Zealand is divided into climate zones, and the minimum required R-value for ceilings varies by zone. As a general guide, most NZ homes require a ceiling R-value of at least R2.9 to R6.6 depending on location and whether it's new construction or an upgrade. Check the BRANZ website or your local council for the specific requirement in your area.
| Climate Zone | Example Locations | Typical Minimum Ceiling R-Value |
|---|---|---|
| Zone 1 (Warm) | Northland, Auckland | Lower requirement |
| Zone 2 (Temperate) | Wellington, Nelson | Moderate requirement |
| Zone 3 (Cold) | Central Otago, Queenstown | Higher requirement |
Always confirm current requirements with MBIE or your council, as these are updated periodically.
Choosing the Right Insulation Product
The most common DIY-friendly ceiling insulation types in NZ are:
- Glasswool batts – Lightweight, widely available, and easy to cut. Brands like Pink Batts (Fletcher Insulation) and Knauf products are sold at Bunnings and Mitre 10.
- Polyester batts – Itch-free and easy to handle, a good choice if you're sensitive to fibreglass. Slightly more expensive.
- Loose-fill (blown-in) – Best for topping up existing insulation or hard-to-reach spaces, but typically requires hired equipment or a professional installer.
Make sure the product you choose is rated to the R-value you need, and check that it carries a CodeMark or appraisal to confirm it meets NZ standards.
What You'll Need
- Insulation batts (measure your ceiling area carefully and add around 10% for waste)
- Tape measure, utility knife, and straight edge for cutting
- Dust mask rated P2 or higher (essential for glasswool)
- Safety glasses and gloves
- Long-sleeved clothing
- Head torch or portable lighting
- Boards or a crawl board to kneel on (never stand on ceiling joists or GIB board)
- Eave vents or baffles to maintain airflow at the eaves
Step-by-Step: Installing Ceiling Batts
1. Measure and plan
Measure the joist spacing in your ceiling cavity (commonly 400 mm or 600 mm centres in NZ homes) and buy batts cut to suit. Measure the total area and calculate how many batts you need.
2. Prepare the space
Check the ceiling cavity for any existing insulation, electrical junction boxes, recessed lighting, or plumbing. Never cover recessed downlights with insulation unless they are rated IC (insulation contact) — this is a serious fire risk.
3. Maintain eave ventilation
Leave a clear gap at the eaves to allow airflow and prevent moisture build-up. Use polystyrene baffles or cardboard dams to hold insulation back from the eaves.
4. Lay the batts
Start from the eaves and work toward the centre. Press batts snugly between joists with no gaps or compression — compressed insulation loses R-value. Butt ends tightly together.
5. Work safely
Always use a crawl board. Watch your footing — one slip and you could go through the ceiling. Keep your work area well lit and take regular breaks in fresh air.
Electrical Safety — A Critical Warning
Do not cover or disturb electrical wiring without understanding the risks. In older NZ homes, wiring may be in poor condition. If you encounter any wiring that looks damaged, uses old rubber insulation, or runs through the insulation area in a way that concerns you, stop and consult a registered electrician. All electrical work is restricted work under the Electrical Workers Registration Board (EWRB) rules — homeowners cannot carry out electrical repairs or alterations themselves.
When to Call a Professional
Consider hiring a qualified insulation installer if:
- Your ceiling cavity is very tight, has limited access, or is irregularly shaped
- You need blown-in loose-fill insulation
- There is existing damaged or asbestos-containing insulation (common in homes built before the 1990s — do not disturb it yourself; contact a licensed asbestos removalist)
- You're unsure about the condition of your electrical wiring
- You want a warranty-backed installation for a rental property
- You simply don't feel confident working in a confined space
A professional installer will also be able to confirm the correct R-value for your zone and ensure the job meets the Healthy Homes Standards. You can find qualified local insulation installers on tradedirectory.co.nz.