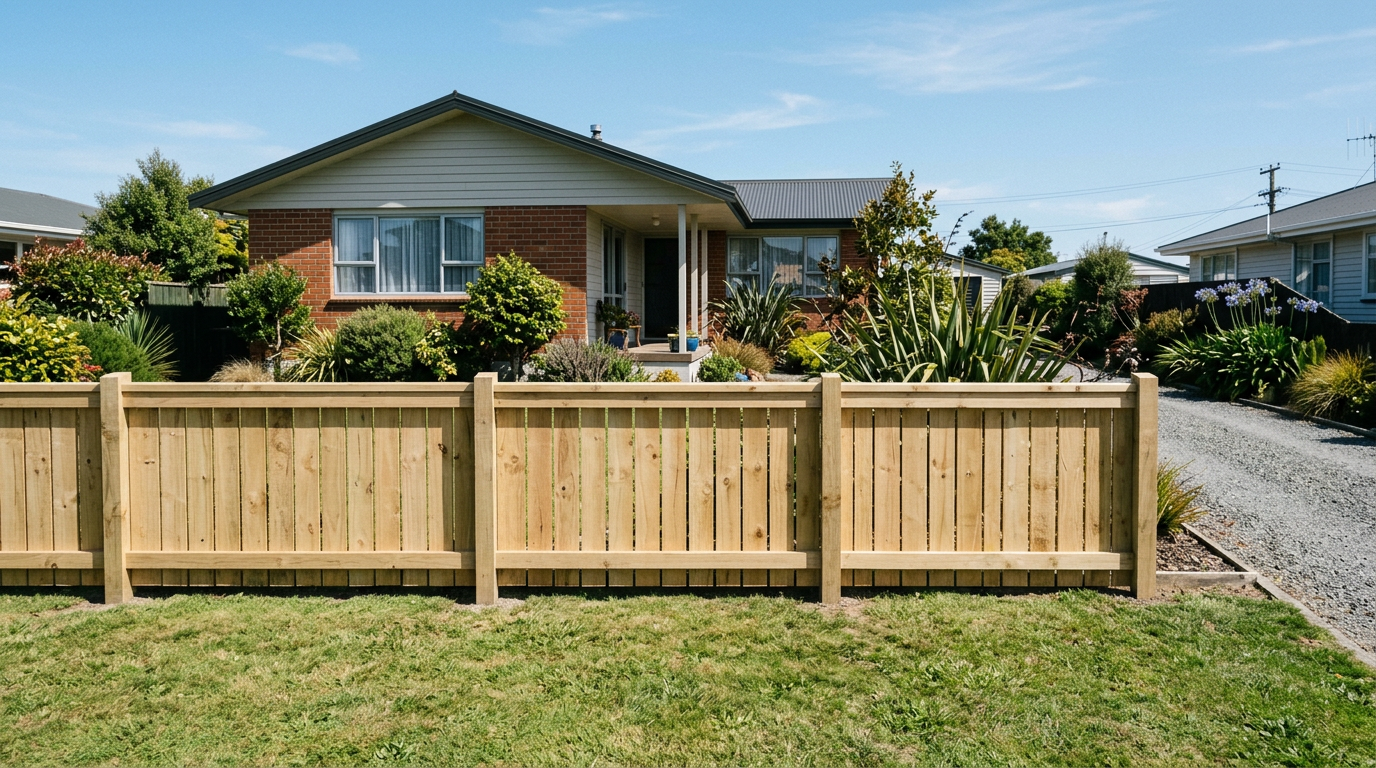
Yes, installing a timber paling fence on a slope is well within reach for a capable DIYer in New Zealand. The main challenge is deciding how to follow the ground level — either raking (rails run parallel to the slope) or stepping (rails stay level in flat sections that drop in steps) — and making sure your posts are set solidly enough to handle the extra lateral forces a sloped site can create. No electrical, plumbing, or gas work is involved, so there are no licensing restrictions on the physical fencing work itself. That said, you should always check with your local council before you start.
Check If You Need a Building Consent
Most residential boundary fences under 2.0 m in height are exempt from building consent under Schedule 1 of the Building Act 2004, but there are exceptions — particularly near a public road, retaining walls, or if the fence is on a slope that could affect drainage or stability. Pool fencing has its own strict requirements under NZS 8500 and the NZ Building Code clause F9. Always confirm with your local council before you begin, as rules vary by district. You can find general guidance at MBIE Building Performance.
Raking vs Stepping: Which Method Suits Your Slope?
Choosing the right method depends on the steepness of your slope and the look you want.
| Method | Best for | Appearance | Gaps at ground? |
|---|---|---|---|
| Raking | Gentle to moderate slopes | Smooth, follows contour | Minimal |
| Stepping | Steeper slopes or flat-top palings | Neat, structured | Yes — at each step |
- Raking means your rails and palings are cut or hung at an angle to follow the slope. Standard square-cut palings can leave triangular gaps at the bottom; you can use longer palings or infill with gravel boards.
- Stepping keeps each bay of fence level, then drops to the next level. It suits steeper ground and gives a tidy, traditional look, but leaves open triangular gaps beneath each step that may need infilling if security or pet containment matters.
What Timber and Materials Do You Need?
For a typical NZ timber paling fence you'll need:
- Posts: H4 treated timber (e.g. 100 × 100 mm) for in-ground use — H4 treatment is essential for ground contact in NZ conditions. Check the treatment level stamp before buying.
- Rails: H3.2 treated 75 × 50 mm or 100 × 50 mm timber, typically two or three rails per bay.
- Palings: H3.1 treated timber, commonly 100 mm or 150 mm wide, 25 mm thick. Rough-sawn is fine; dressed looks smarter.
- Fixings: Hot-dipped galvanised or stainless steel nails or screws — never plain steel, which will rust and stain the timber in NZ's damp climate.
- Concrete: Rapid-set concrete for post holes is convenient for DIY.
You can source materials from Bunnings, Mitre 10, or PlaceMakers. Always ask for the treatment certificate and confirm the H-level is appropriate for the application.
Step-by-Step: Installing on a Slope
1. Mark Out and Confirm the Boundary
Use a string line and pegs to mark the fence line. If you're unsure of your exact boundary, check your property's title plan or consider hiring a surveyor — building on a neighbour's land can be costly to fix.
2. Set Your Posts
- Space posts 1.8 m apart (centre to centre) as a standard bay width — you may need to adjust slightly on a slope to keep bays even.
- Post holes should be at least 450–600 mm deep (deeper on slopes or in soft ground for stability). A general rule is one-third of the post length in the ground.
- On a slope, all post tops can be set at the same height above ground (for stepping) or cut to a consistent height above the slope (for raking) after the concrete sets.
- Use a spirit level to ensure each post is plumb (vertical) in both directions.
- Allow concrete to cure fully — typically 24–48 hours — before attaching rails.
3. Attach the Rails
- For raking, run rails at the angle of the slope between posts. Use a bevel gauge to mark consistent angles.
- For stepping, keep rails level within each bay and use a spirit level to confirm.
- Fix rails to posts with galvanised joist hangers or by face-fixing with screws.
4. Fix the Palings
- Work from one end, using a spacer (a scrap piece of paling works well) to keep gaps consistent — typically 5–10 mm to allow for timber movement.
- Check every few palings with a spirit level to ensure they're running plumb (vertical), not leaning with the slope.
- On a raked fence, palings remain vertical even though the rails are angled — this is the key detail that trips up many first-timers.
5. Finishing and Weatherproofing
Apply a quality timber stain, oil, or paint to protect the fence from NZ's UV and moisture. Resene, Dulux, and Wattyl all offer suitable exterior timber finishes. Treat cut ends with end-grain preservative before fixing.
Safety Notes
- Call Before You Dig: Contact Dial Before You Dig (0800 248 344) to check for underground services before digging post holes.
- Wear appropriate PPE — safety glasses, gloves, and steel-capped boots when using power tools.
- If the slope is steep and you're working at height, take care with footing and consider scaffolding or a spotter.
- Check WorkSafe NZ guidance on safe use of tools and working on uneven ground.
When to Call a Professional
Consider hiring a qualified fencer from tradedirectory.co.nz if:
- The slope is steep (over roughly 15–20°) or the ground is unstable or rocky.
- The fence is near a retaining wall, boundary dispute, or pool area.
- You're unsure about consent requirements or boundary locations.
- The fence is over 2.0 m tall or involves any structural complexity.
- You simply want the job done quickly and to a guaranteed standard.
A professional fencer will have the right tools (including a post-hole borer) and experience to handle tricky slopes efficiently.