Yes, in most situations a NZ homeowner can hang GIB plasterboard themselves — it's not restricted work under the Building Act. However, getting it right takes careful planning, the correct products, and an understanding of when a building consent or a licensed professional is required. Read on before you pick up a utility knife.
Is Hanging Plasterboard Restricted Work?
Hanging GIB plasterboard (also called gypsum board or drywall) is not classified as restricted building work in New Zealand, so you don't need to be a Licensed Building Practitioner (LBP) just to fix sheets to a wall or ceiling. That said, if the work is part of a larger project — such as adding a new room, altering a load-bearing wall, or changing the building envelope — a building consent may be required. Always check with your local council before starting. Some minor internal lining work may fall under Schedule 1 exemptions, but confirming this with your council is essential. See MBIE Building Performance for guidance on consents and exemptions.
What You'll Need
Before you start, gather the right gear:
- GIB standard board (10 mm for walls, 13 mm for ceilings) or specialist board (e.g. GIB Aqualine® for wet areas, GIB Fyreline® for fire-rated assemblies)
- Plasterboard screws (not nails for framed timber — screws hold better)
- A screw gun or drill with a drywall bit
- Utility knife and straight edge for scoring and snapping
- Tape measure, pencil, and chalk line
- A plasterboard lifter or T-bar (hire one for ceilings — don't try to hold sheets overhead alone)
- Safety glasses and dust mask
Key NZ Building Code Requirements
Even for DIY work, your installation must comply with the NZ Building Code. Key clauses to be aware of:
- Clause E3 (Internal Moisture): Wet areas like bathrooms and laundries require moisture-resistant board (e.g. GIB Aqualine®) and appropriate waterproofing behind tiled surfaces.
- Clause C (Fire): If you're lining a wall that has a fire-rating requirement (e.g. between a garage and living space), you must use the correct fire-rated system — typically GIB Fyreline® installed to a tested specification.
- Framing standards: Plasterboard must be fixed to framing that meets NZS 3604 (for timber-framed buildings). Stud spacing, nogging placement, and sheet orientation all matter.
The GIB website publishes detailed installation guides for each board type — these are well worth downloading before you start.
Step-by-Step: Hanging Plasterboard on Walls
- Check your framing — studs should typically be at 400 mm or 600 mm centres. Use a stud finder or probe with a nail.
- Measure and cut — score the face paper deeply with a utility knife, snap the board, then cut the back paper.
- Fix sheets — start from a corner, keeping sheets vertical. Drive screws every 200–300 mm along studs, keeping screws at least 10 mm from edges. Screws should be slightly dimpled, not breaking the paper.
- Stagger joints — offset vertical joints between rows so they don't line up, which reduces cracking.
- Leave a small gap at the floor (10 mm) to avoid moisture wicking.
Ceiling Tips
Ceilings are harder — always use a plasterboard lifter or get a helper. Use 13 mm board and fix at 150–200 mm centres. Run sheets perpendicular to the joists where possible.
Stopping and Finishing — Where It Gets Tricky
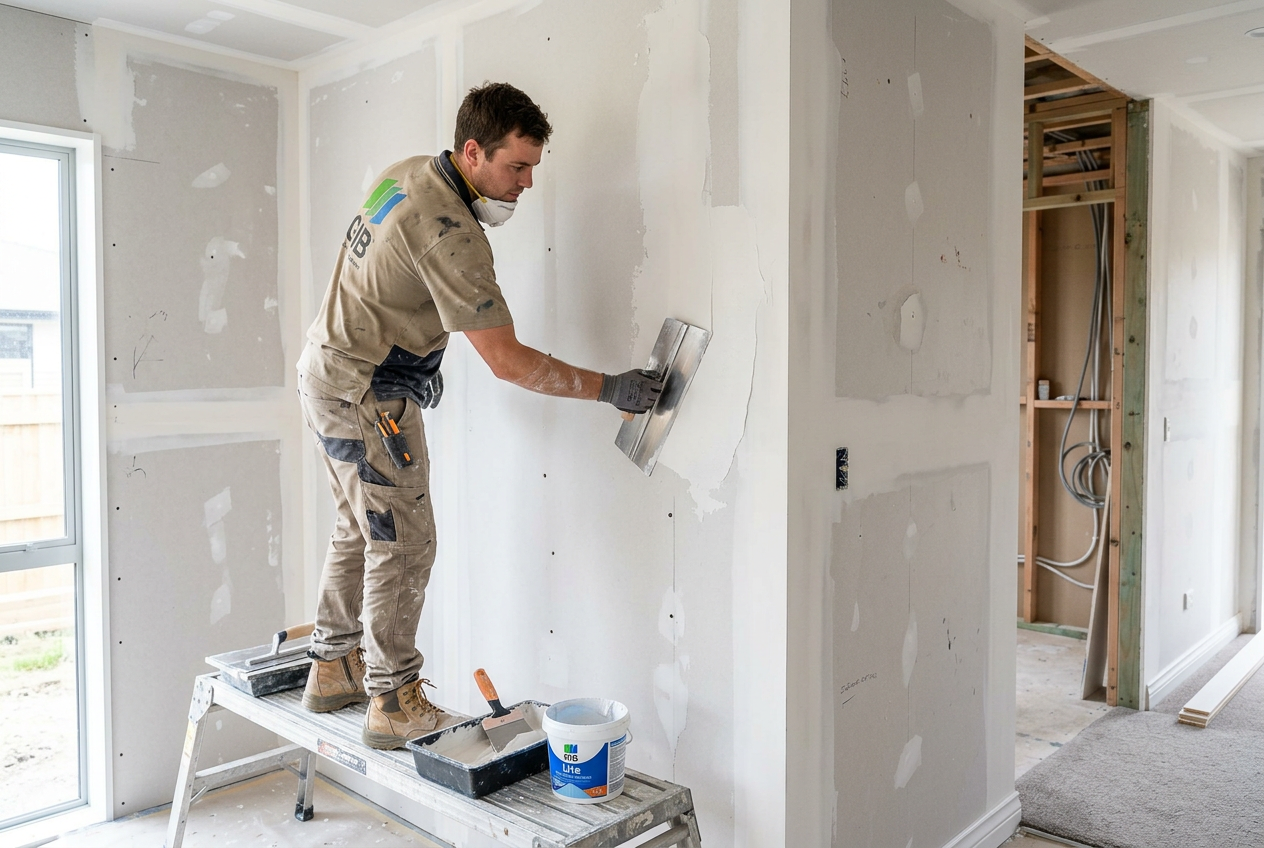
Hanging the board is only half the job. Stopping (taping, jointing, and finishing) is a skilled trade that takes years to master. Poorly stopped walls show every imperfection once painted. If you want a smooth, professional result, consider hanging the board yourself to save on labour, then hiring a qualified plasterer or stopper to finish the joints and set. You can find experienced local plasterers on tradedirectory.co.nz.
Wet Areas and Waterproofing
In bathrooms and other wet areas, plasterboard alone is not enough. Under NZ Building Code Clause E3, wet areas must be properly waterproofed. This typically means:
- Using GIB Aqualine® or similar moisture-resistant board
- Applying a membrane system behind tiles
- Ensuring all penetrations are sealed
For tiled showers and baths, BRANZ has good guidance on acceptable wet-area systems. If you're unsure, get a professional involved — a failed wet area can cause serious and expensive damage.
When to Call a Professional
Call a qualified plasterer or LBP if:
- The work requires a building consent (your council will confirm this)
- You're working on fire-rated walls or ceilings — these must be installed to a tested specification and may require sign-off
- You need stopping and finishing to a high standard
- The project involves structural changes to walls or ceilings
- You're lining a wet area and are unsure about waterproofing requirements
- The job is large or complex and mistakes would be costly to fix
For restricted building work, only an LBP can provide the required Record of Work. Always check licensing before hiring.
Safety Note
Plasterboard dust contains fine silica particles. Always wear a P2 dust mask and safety glasses when cutting or sanding. Work in a ventilated space. See WorkSafe NZ for guidance on managing dust hazards on the job.