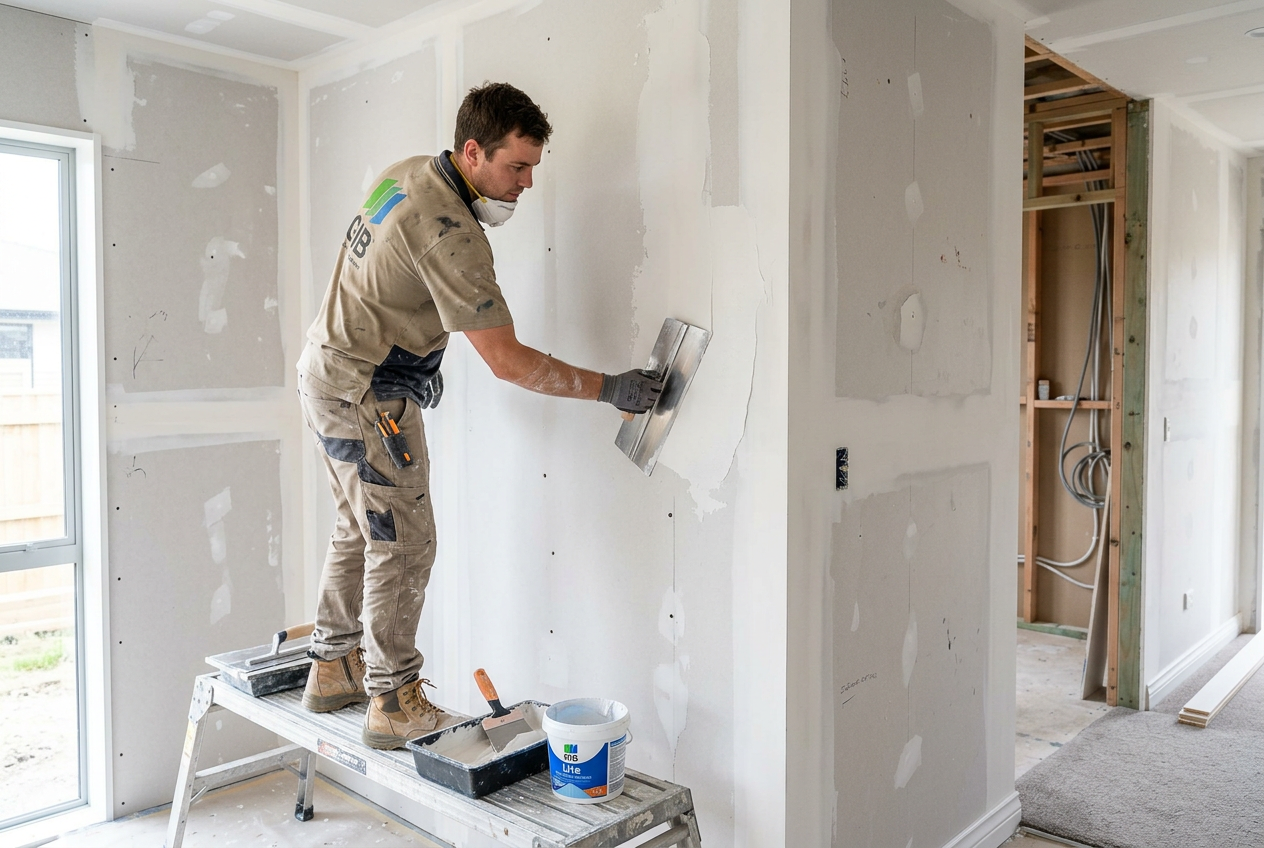
Yes, applying acrylic texture coat over existing painted render is a job many confident DIYers can tackle — but only if the existing surface is sound, clean, and properly prepared. Rush the prep and you risk peeling, cracking, or a patchy finish that's expensive to fix. Take your time, follow the steps below, and you'll get a result that lasts.
Assess the Existing Surface First
Before you buy a single tin of texture coat, spend time inspecting the existing render and paint. This is the most important step.
- Check adhesion: Press firmly on the surface and tap it with your knuckles. A hollow sound or any movement means the render beneath is delaminating — this needs professional attention before you coat over it.
- Look for cracks: Hairline cracks can often be filled, but wide or active cracks (ones that keep moving) may indicate structural movement. If in doubt, get a renderer to assess them.
- Test for chalking paint: Rub your hand firmly across the surface. If paint comes off as a white powder, the existing coating is chalky and will need to be treated with a sealer/binder before you apply texture coat.
- Check for moisture: In New Zealand's varied climate — especially in wetter regions like the West Coast, Northland, or Wellington — moisture trapped behind render is a real risk. Look for damp patches, efflorescence (white salt deposits), or mould. Coating over moisture problems will make them worse.
Gather Your Materials and Tools
For a standard acrylic texture coat job over painted render, you'll typically need:
| Item | Purpose |
|---|---|
| Acrylic texture coat | The finish coat itself (available in various textures) |
| Acrylic sealer/binder | Primes chalky or porous surfaces |
| Crack filler (flexible acrylic) | Fills hairline cracks before coating |
| Stiff brush or pressure washer | Surface cleaning |
| Masking tape and plastic sheeting | Protecting windows, trims, and paving |
| Texture roller or brush | Applying and working the texture |
| Hawk and trowel (for thicker coats) | Spreading and finishing |
Well-known NZ suppliers like Resene, Dulux, and Wattyl all offer acrylic texture coatings and compatible sealers. Hardware stores such as Bunnings, Mitre 10, and PlaceMakers stock a good range of products and tools. Always read the manufacturer's data sheet for the specific product you choose — compatibility between sealer, texture coat, and existing paint matters.
Step-by-Step: How to Apply Acrylic Texture Coat
1. Clean the Surface Thoroughly
Wash the entire area with a stiff brush and water, or use a low-pressure wash (high pressure can damage render). Remove all dirt, mould, and loose paint. Treat any mould with an appropriate fungicidal wash and allow to dry fully — this can take several days in cooler or humid conditions.
2. Repair Cracks and Damage
Fill hairline cracks with a flexible acrylic filler and allow to cure completely. For larger cracks or areas of missing render, use a render patching compound and feather the edges. Allow all repairs to cure before moving on.
3. Apply Sealer/Binder if Needed
If the surface is chalky, porous, or has been repaired, apply an acrylic sealer or binder coat as recommended by your texture coat manufacturer. This improves adhesion dramatically. Allow to dry per the product instructions.
4. Mask Up
Protect windows, doors, trims, and any paving or garden beds below the work area. Acrylic texture coat is difficult to remove once it dries.
5. Apply the Texture Coat
Stir the texture coat thoroughly before use. Apply with a roller, brush, or trowel depending on the finish you want — your product's instructions will guide you. Work in manageable sections and maintain a wet edge to avoid lap marks. In hot or windy NZ conditions, the product can skin over quickly, so work in the shade where possible and avoid applying in direct summer sun.
6. Create Your Texture
While the coat is still wet, use a sponge, brush, or roller to create the desired texture. Practice on a small, hidden area first to get the feel for it.
7. Allow to Cure
Don't rush this. Full cure times vary by product and weather conditions. Keep the surface dry and protected from rain until fully cured.
NZ Building Code and Consent Considerations
Applying a decorative texture coat over existing render is generally considered maintenance and does not require a building consent under Schedule 1 of the Building Act 2004. However, if you're making changes to the weathertightness system — for example, recoating a damaged EIFS (Exterior Insulation and Finish System) or monolithic cladding — the situation is more complex. MBIE Building Performance has guidance on what work requires consent, and you should always confirm with your local council if you're unsure. New Zealand's E2 External Moisture provisions of the Building Code are particularly relevant for any exterior cladding work.
When to Call a Professional
While this is a manageable DIY job in straightforward situations, call a qualified renderer if:
- The existing render is delaminating, cracked extensively, or shows signs of moisture ingress
- You have a monolithic or EIFS cladding system (these require specialist knowledge and incorrect work can void warranties or cause serious weathertightness issues)
- The area is large, multi-storey, or requires working at height beyond a standard ladder
- You're unsure about the existing paint or render type and compatibility
- The property is a rental and must meet Healthy Homes Standards
A professional renderer will have the right equipment, product knowledge, and experience to get a consistent finish — and their work may come with a guarantee. You can find qualified local renderers on tradedirectory.co.nz.
Safety note: When working at height, always use a stable platform or scaffolding. Follow WorkSafe NZ guidelines for working safely at height — falls are one of the leading causes of serious injury in DIY projects.